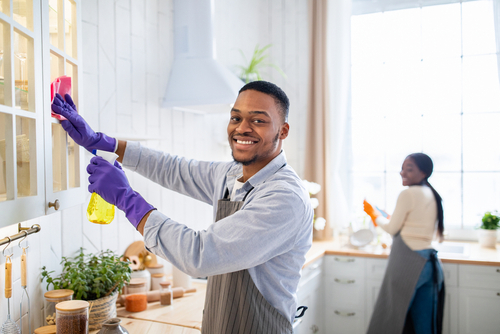
 Kitchen cabinets not only provide indispensable storage, but also form a major visual component of your kitchen’s decor. Unfortunately, it’s not uncommon for them to be on the receiving end of food splatters, or otherwise get dirty over time.
While the easiest way to keep your cooking area in Preston, CT, spotless is to book regular maid services, it’s still worth every homeowners’ while to learn how to properly clean their kitchen cabinets on their own. This is what we’ll be focusing on in the article below. Read on to learn how to keep your cabinetry looking its best!
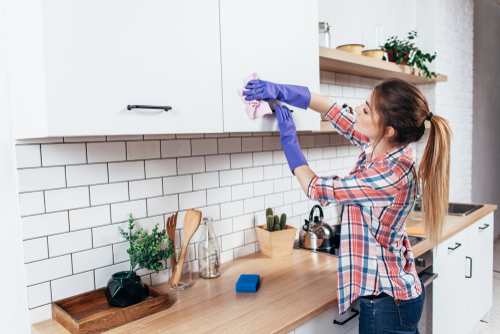
How do you clean kitchen cabinets without removing the finish?
To maintain the appearance and durability of your kitchen cabinets, you should learn to tend to them without removing their finish. The following steps will help you clean your kitchen cabinets efficiently:
Preparatory step:
Gather all your supplies in advance. Grab gentle dish soap, some lukewarm water, a few microfiber cloths, a bowl/bucket, white vinegar, and some baking soda for stubborn stains.
Cleaning procedure:
- Empty the cabinets. Use this moment to scrutinize your belongings and decide if you need to get rid of anything.
- Remove any loose debris with a dry microfiber cloth to avoid making a mess once you begin your mini-project.
- Concoct your cleaning solution. Mix a few drops of dish soap and lukewarm water in a bowl/bucket. Make sure the mixture isn’t too concentrated, as it’ll be more difficult to rinse. You can also add a bit of white vinegar to make the agent more powerful. Vinegar is excellent at removing grime and grease.
- Dampen your microfiber cloth without over-soaking it. Excess moisture can seep into the inside cabinet edges and create mold.
- Before wiping the entire surface, test the concoction in an inconspicuous area to see if it reacts with the cabinet finish. This step is crucial if you’re using white vinegar.
- If your cleaner hasn’t damaged the finish, wipe the entire area, making straight-line moves to ensure you don’t make any streaks. This method also enables you to cover every inch of your cabinets.
- Be gentle while scrubbing, and if you notice some heavy grime build-up, make a baking soda paste by combining equal parts baking soda and warm water. Spot test first as baking soda is mildly abrasive and can mar some finishes. If the finish you’re dealing with is too sensitive, a soft-bristle brush may help. Again, make sure not to rub too vigorously.
- Cover the bottom, the sides, and the top of each cabinet to ensure all grime is removed.
- Rinse with a damp microfiber cloth. Again, no need for too much water. Instead, wring the cloth completely and wipe the cabinet from top to bottom.
- Deal with the exterior. If you have glass door kitchen cabinets, you can use white vinegar and water combo to clean both sides. Wipe the handles or knobs with soapy water and rinse them thoroughly.
- Dry the inside and the outside of the cabinets. You may need more than one microfiber cloth to ensure all the surfaces are moisture-free.
- Arrange your belongings when the cabinets are entirely dry.
Final notes:
Your kitchen cabinets will last longer if you maintain and clean them regularly. Be careful not to damage the cabinet’s finish with abrasive pads, strong chemicals, or too much water. Consider consulting the manufacturer’s recommendations for the best cleaning methods if your cabinets have a finish that requires special care.
Where in Preston, CT, can I book dependable maid services?
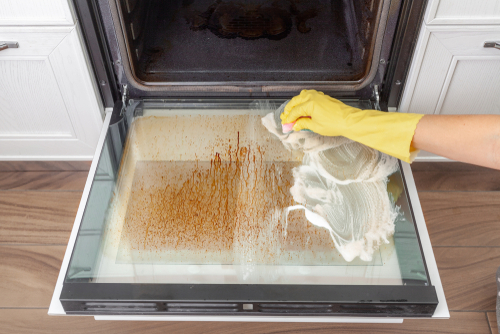
 If your fridge is too dirty and your oven screams for degreasing, don’t hesitate to rely on professional help. Orchid Maids boasts highly qualified experts who can tackle these challenges and more.
They’ll make your kitchen tidy and sanitary by wiping your countertops and other surfaces using time-tested cleaning methods. They’ll restore order in your living room, bedroom, and bathroom. Explore Poquetanuck and learn about the local history while top pros deal with your home in Preston. Book now!
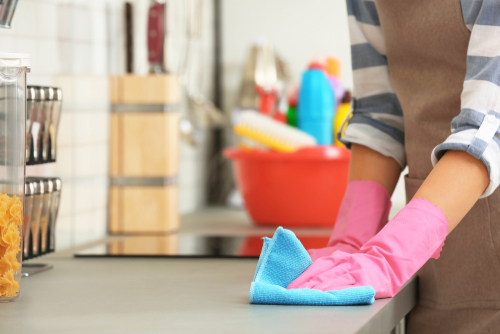 With the exception of perhaps the sink, the countertops are one of the most frequently used surfaces in most kitchens. As a result, they need regular cleaning in order to remain sanitary and looking their best at all times.
 Cleaning and
 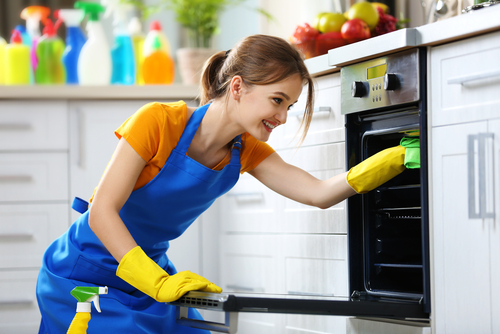 Do your
 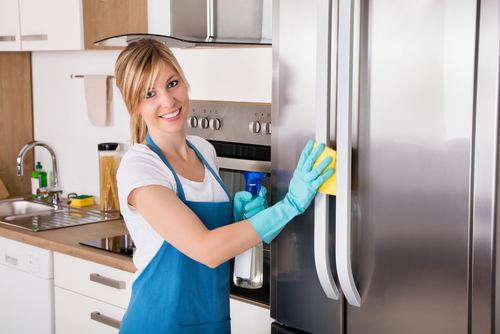 Regular fridge cleaning is crucial for both your health and the functionality of your kitchen. It helps keep your food nice and cold, prevents unpleasant odors, and extends the life of your groceries. A clean fridge also works better, saves energy, and lowers maintenance expenses when hygienic. Additionally, it makes your kitchen look nicer and reduces the risk of pest infestations.
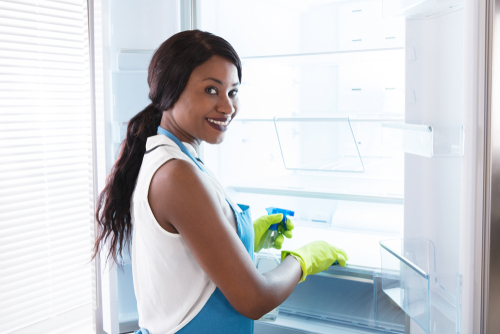 Besides
 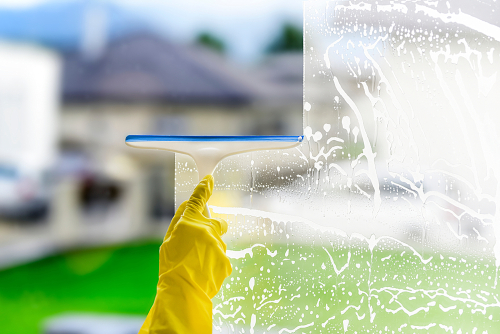 Windows covered in dirt and smudges sometimes go unnoticed in homeowners’ cleaning routines as they focus on dusty carpets, floors, and other items inside their houses. But windows control how much light gets into your living space, so their state is crucial in maintaining a healthy home environment.
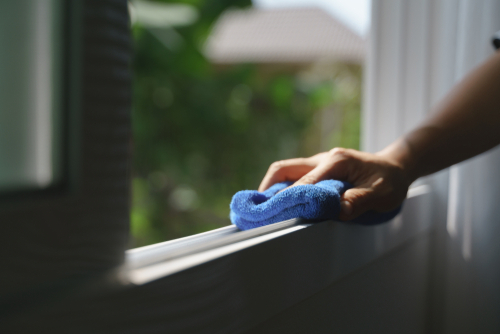 If you want to keep your home in Columbia in order, you need to complete so many tasks. Some are more intricate than others,
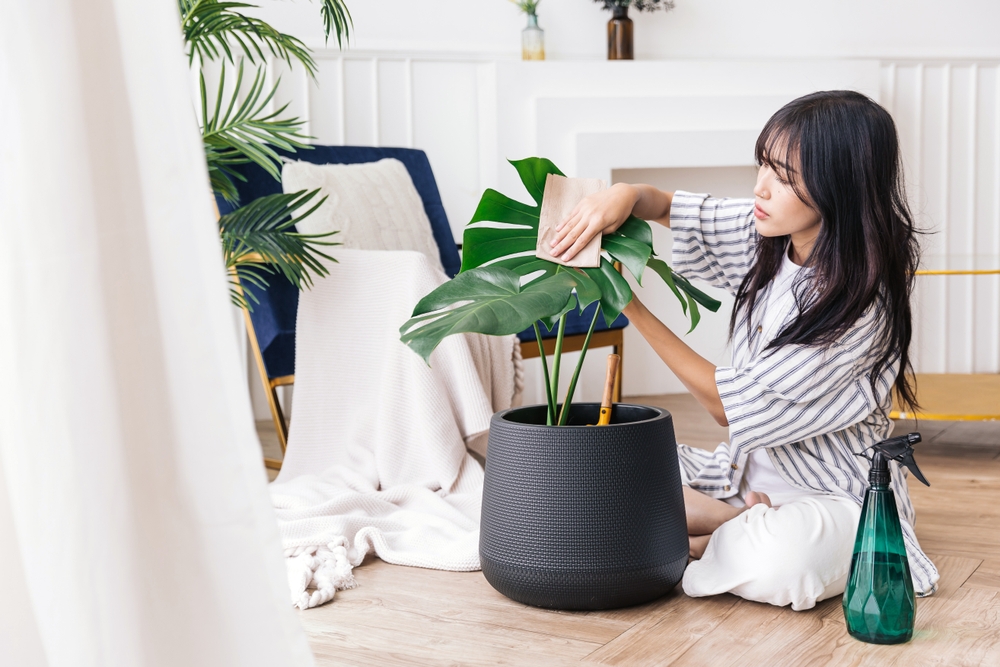
  Remember yourself as a kid? Did you like tidying up your bedroom? Not really, right? And when you think of it better, you aren’t particularly enthusiastic about it now either, even though you fully understand its significance.
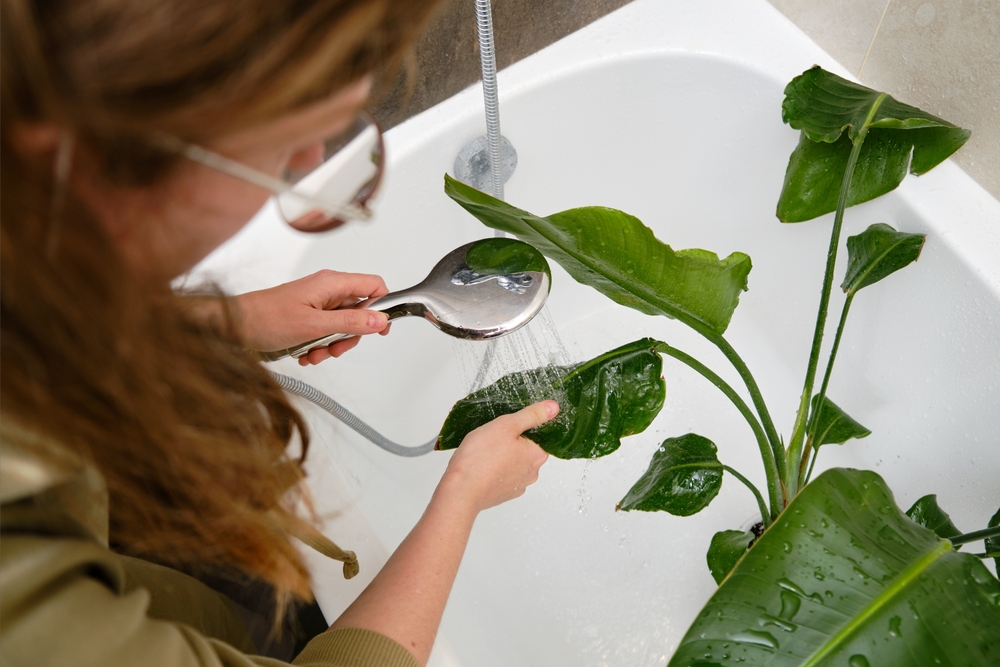
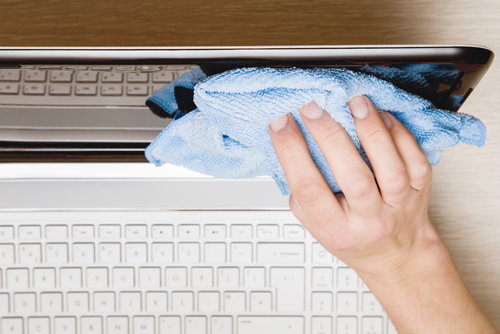 Modern electronics have revolutionized our lives, making communication faster, information and various forms of entertainment readily available, and so on. But they’ve done something else too. They’ve introduced more germs and dirt into our lives. They’re magnets for dust, smudges, and pathogens as we constantly touch them with our hands.
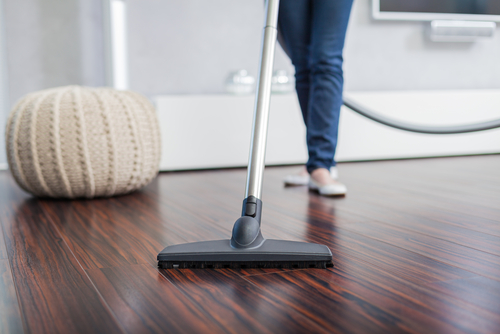
 Nobody finds housekeeping particularly rewarding, right? It includes many repetitive activities that are sometimes time-consuming and physically demanding. But since it involves a lot of movement and lifting items,